

Rice Krispies, Cake, Chocolate and Sprinkles on a stick... why did I not think of this sooner??? This "life changing" mash up is the result of far too many hours of my life lost on pinterest :) I get sucked into the "amazingness" that is this little slice of heaven online and look up only to realize that literally hours have passed and my brain and stomach are grumbling from the sensory overload! On a recent late night search for some fun new recipes I saw a few posts for cake batter rice krispies and being a fan of both cake and the old school marshmallow treats I figured these were a must try but I wanted to put my own spin on this so I decided to dip them in chocolate and because everything is better on a stick.. why not finish these happy little guys off with a handle???? These are easy and oh so yummy for little and big kids alike.
You will need:
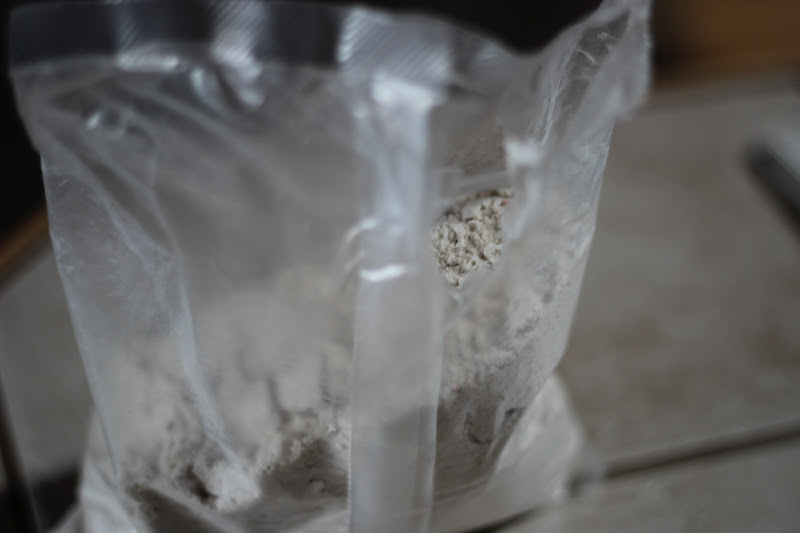
1/2 cup dry cake mix (*any flavor.. read below ;)
4 tablespoons butter
1 bag mini marshmallows
6 cups rice krispies
***optional: lollipop sticks, chocolate and sprinkles for decoration
To start off you need a cake mix. All the recipes I saw online called for a yellow cake mix. I decided since it's spring and these could be fun Easter treats why not use a carrot cake mix instead? Truth be told this was the only cake mix I had on hand.. but after I realized this I figured the whole Easter thing was not a bad idea :) And it totally works... so just think of the possibilities.. dare I say red velvet rice krispies anyone???? :) 

First melt the butter in pan just like you would regular cereal treats..

Then add the marshmallows...

Once those are almost completely melted sprinkle in the dry cake mix. Most recipes call for just 1/4 cup but I doubled that to 1/2 so you could really taste that delicious flavor.

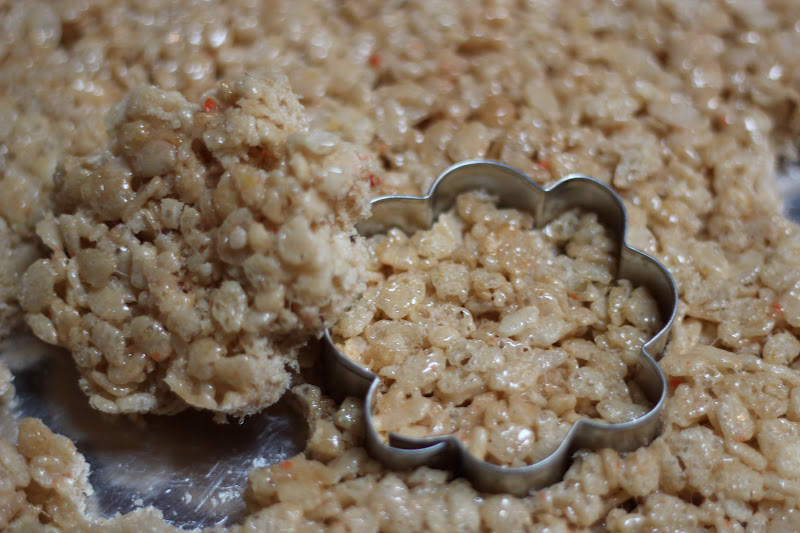
Finally add in your cereal and mix until everything is combined.

While the treats are cooling in a greased pan...
You can take the remaining mix.. and make more treats :) Or do like we did and make cupcakes... just follow the regular package directions and use just a little bit less liquid to make up for the 1/2 cup you "borrowed" for the treats!


If your house is anything like mine they won't last long.
 My taste-testers work cheap...
 But they give these 2 thumbs... way up!!!
Enjoy, Lindsey :)


Enjoy, Lindsey :)
No comments:
Post a Comment